
Understanding Spray Foam Roof Removal
Spray foam insulation has become a popular choice for many homeowners and commercial property owners alike due to its excellent insulating properties. However, there are instances when it becomes necessary to consider the spray foam roof removal process, whether due to damage, aesthetic changes, or upgrades to roofing systems. Understanding the full scope of this procedure is essential for anyone involved in maintaining or remodeling properties.
What is Spray Foam Insulation?
Spray foam insulation is a two-component substance that expands upon application, creating a solid barrier against air leaks. It effectively seals gaps and provides excellent thermal insulation, making it a popular choice for roofs, walls, and attics. This insulation type is primarily made from urethane and is either closed-cell or open-cell foam. Closed-cell spray foam offers higher insulation values and is water-resistant, while open-cell foam provides better soundproofing but can absorb moisture.
Signs of Damage Requiring Removal
When assessing whether to proceed with a spray foam roof removal, there are several signs of damage to look out for:
- Moisture Issues: If you notice leaks or water stains on your ceiling, this is a clear indication that the spray foam is failing.
- Cracking or Shrinking: Foam that has begun to crack or shrink can no longer provide effective insulation.
- Odor: Unpleasant odors can signal mold growth within the foam.
- Structural Damage: Any signs of underlying structural damage should prompt immediate consideration for removal.
Safety Considerations During Removal
Before initiating the removal process, it’s crucial to prioritize safety. The chemicals involved in spray foam insulation can release harmful vapors when handled improperly, making personal protective equipment (PPE) essential. Here’s what to keep in mind:
- Protective Gear: Wear gloves, goggles, and a respirator mask to shield yourself from hazardous substances.
- Ventilation: Ensure that your workspace is well-ventilated to reduce inhalation risks related to fumes.
- Fire Safety: Both spray foam and removal agents can be flammable. Keep a fire extinguisher nearby.
Preparation for Spray Foam Roof Removal
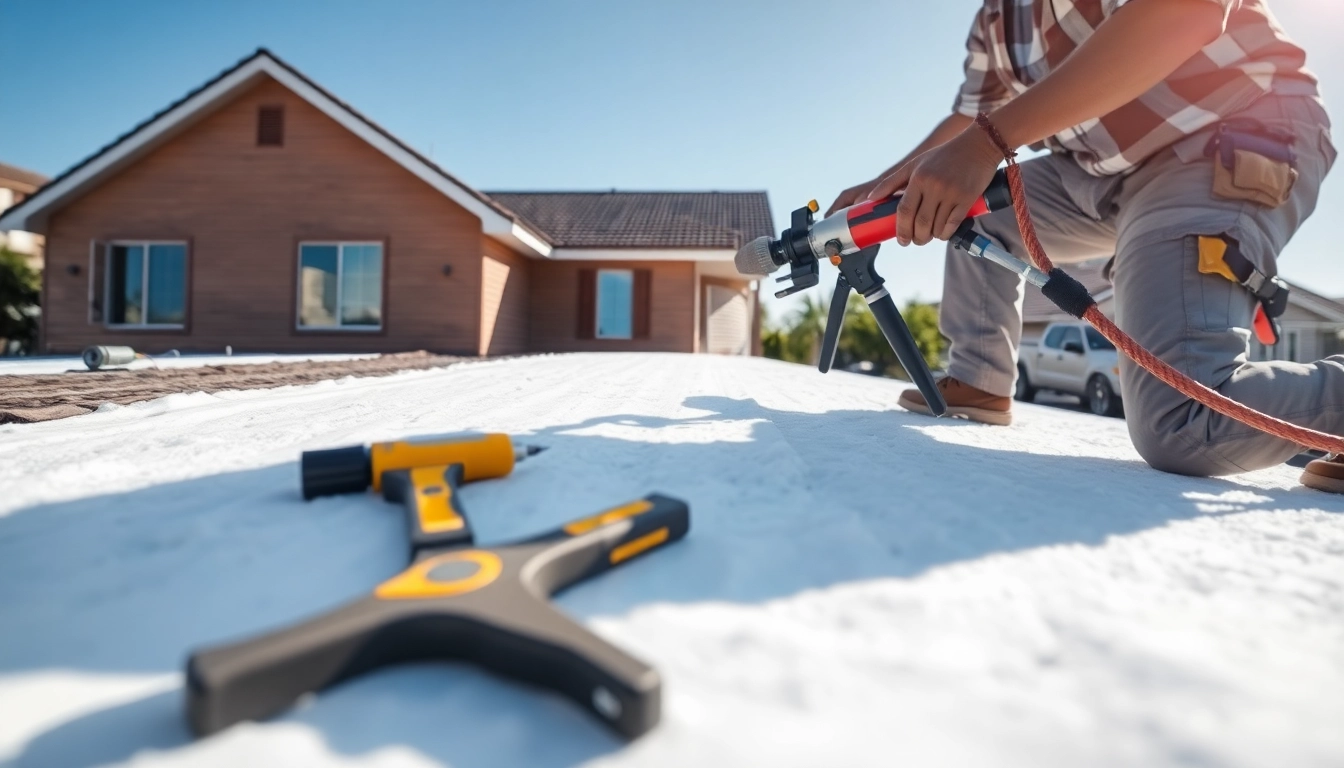
Essential Tools and Equipment
Preparation is key to a successful spray foam roof removal process. Here are the tools and equipment you’ll need:
- Utility Knife: This is essential for cutting away the foam.
- Heat Gun: Useful for softening the foam for easier removal.
- Chemical Strippers: These can help break down the foam for easier scraping.
- Scrapers: Different sizes for thorough cleaning post-removal.
- Protective Equipment: As previously mentioned, make sure to have safety gear at the ready.
Preparing Your Workspace
Setting up your workspace correctly ensures an efficient removal process. Follow these steps:
- Clear the Area: Remove any obstacles around the workspace.
- Lay Down Tarps: Protect the surrounding areas from debris and chemicals.
- Check Tools: Ensure that all tools are in working order before starting.
Assessing Weather Conditions
Weather can significantly affect the removal process. Ideally, proceed with the removal on a dry day, as moisture can make the foam more challenging to detach and can complicate the cleanup process. Check forecasts to ensure optimal conditions.
Step-by-Step Guide to Spray Foam Roof Removal
Cutting and Peeling the Foam
The first actual step in the removal process is cutting and peeling the foam. This requires patience and precision:
- Identify Sections: Start by identifying the sections of foam that need removal.
- Make Initial Cuts: Using a utility knife, carefully make initial cuts along the foam layers.
- Peel Away the Foam: Work the foam away from the substrate carefully to avoid damaging the underlying materials.
Using Chemical Strippers Effectively
If cutting proves difficult, chemical strippers may be necessary. Here’s how to apply them safely:
- Read Instructions: Always read product labels to understand application techniques and safety precautions.
- Apply Generously: Use a brush to apply the stripper evenly over the foam surface.
- Scrape Off: After a suitable dwell time, use a scraper to remove the softened foam.
Cleaning Up Residue and Debris
Once the foam has been removed, cleaning is essential to prepare for any repairs or new installations:
- Gather Debris: Use a vacuum or brush to collect all pieces of foam.
- Remove Adhesive Residue: A combination of chemical strippers and scrapers will be needed to remove any remaining adhesive.
- Inspect Substrate: Before proceeding, ensure that the underlying structure is clean and ready for inspection.
Post-Removal Inspection and Repair
Checking for Roof Damage
After removing the spray foam insulation, it’s essential to conduct a thorough inspection of the roof:
- Look for Water Damage: Assess for any water damage, rot, or mold growth.
- Evaluate Structural Integrity: Check that the roof deck is structurally sound and not compromised.
- Document Findings: Take notes and photographs of any issues for future reference or professional evaluation.
Sealing and Protecting Your Roof
If the substrate is in good condition, the next step is sealing and protecting the roof:
- Repair Any Damage: Address any identified issues with appropriate materials.
- Apply Roof Coating: A quality roof sealant can enhance longevity and protect against moisture.
- Consider Insulation Options: After removal, evaluate what type of insulation (if any) would suit your new roofing needs.
Evaluating Long-term Solutions
Post-removal is the ideal time to consider new insulation options or other roofing solutions that can improve energy efficiency:
- Explore Alternative Insulations: Consider materials like fiberglass or mineral wool as alternatives to spray foam.
- Discuss with Professionals: Consulting with roofing professionals can provide insights into the best solutions for your specific needs.
- Plan for Regular Maintenance: Establish a maintenance schedule to ensure the roof remains in optimal condition.
FAQs About Spray Foam Roof Removal
How long does the removal process take?
The duration varies based on roof size, but typical removals can range from a few hours to a couple of days.
Is professional removal necessary?
While DIY is possible, hiring professionals ensures safety, efficiency, and compliance with local regulations.
What tools are needed for spray foam removal?
Common tools include a utility knife, heat gun, chemical strippers, and safety gear like goggles and gloves.
Can I replace the foam myself?
Yes, but ensure proper training and permits to comply with local building codes for safety and effectiveness.
What should I do after removal?
Inspect for any roof damage, consider re-sealing, and explore alternative insulation options for better performance.